To block and stretch your rug after cleaning, gather supplies like towels, water spray, and pins, then prepare a flat, well-lit workspace. Gently wash and rinse the rug, removing excess moisture. Carefully stretch and smooth the edges from the center outward, securing them with pins or weights to maintain shape. Allow it to dry completely with good ventilation. For detailed steps, follow along to make certain your rug looks fresh and feels perfectly shaped.
Key Takeaways
- Ensure the rug is thoroughly dry before stretching or blocking to prevent mold or mildew growth.
- Gently stretch edges from the center outward, using pins or weights to hold the shape during drying.
- Secure edges with tape, staples, or pins to maintain tension and prevent shifting during the drying process.
- Use proper blocking techniques based on rug material, such as gentle stretching for cotton or professional blocking for delicate fibers.
- Allow adequate airflow and avoid direct sunlight to ensure even drying and preserve the rug’s colors and fibers.
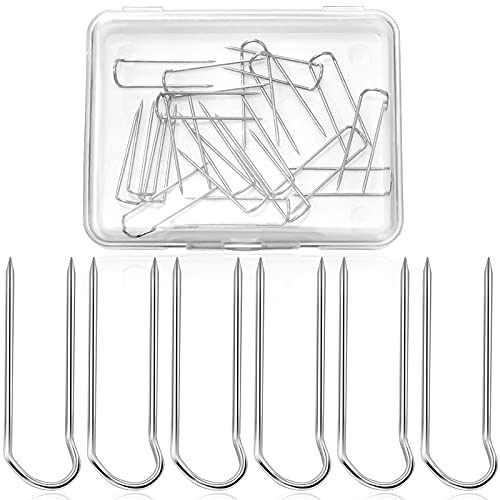
MTLEE 50-Piece Sewing U-pins Double Blocking Fork Stainless Steel Multi-use Pins for Crafts, Jewelry & Decor(0.9 Inch Long,Silver)
Package contents: the package comes with 50 pieces of sewing u-pins, enough in quantities for you to use…
As an affiliate, we earn on qualifying purchases.
As an affiliate, we earn on qualifying purchases.
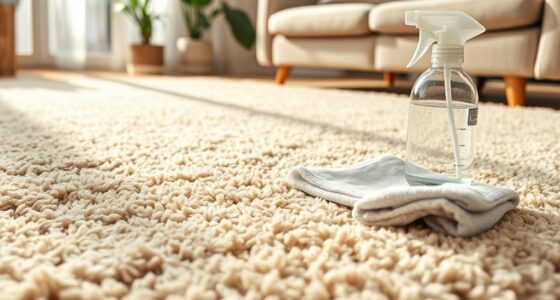
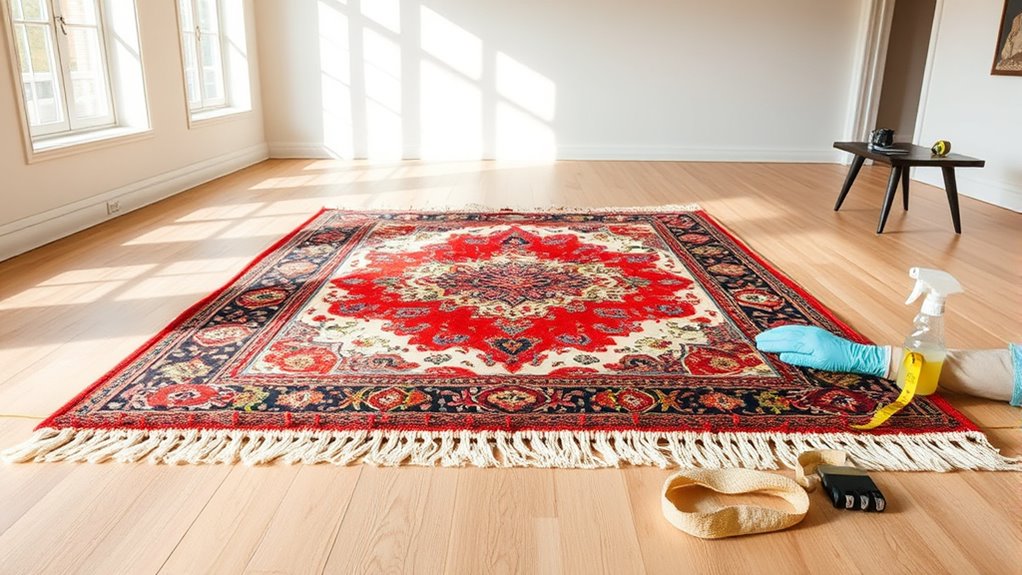
Gathering the Necessary Supplies
Before you begin blocking and stretching your rug, you need to gather the right supplies. Start with clean towels and a spray bottle filled with water to lightly dampen the rug, aiding in stretching and reducing color fading. You’ll also need a sturdy surface or clean floor space to work on. For fringe repair, have a needle and matching thread ready to mend any frayed or loose edges. If your rug has experienced color fading, consider using fabric-safe dye or color restore products, but verify you have these on hand before starting. Additionally, gather masking tape or pins to hold the rug in place once stretched. Proper preparation can also include assessing the rug’s vacuum cleaner performance metrics, ensuring it is free of loose dirt and debris for a more effective stretching process. Checking the rug’s fiber composition can help determine the best methods and products for cleaning and restoring its appearance. Being aware of your rug’s cleaning requirements can prevent damage during the stretching process and help you choose appropriate cleaning solutions. Understanding the effects of sleep deprivation on your mental health can motivate you to create a calm and comfortable environment for your stretching sessions. Incorporating knowledge of home theater projector technology can inspire you to set up a dedicated space that complements your newly refreshed rug, enhancing your overall home environment. Having all these supplies prepared ensures a smooth process, helping your rug look refreshed and well-maintained after stretching.
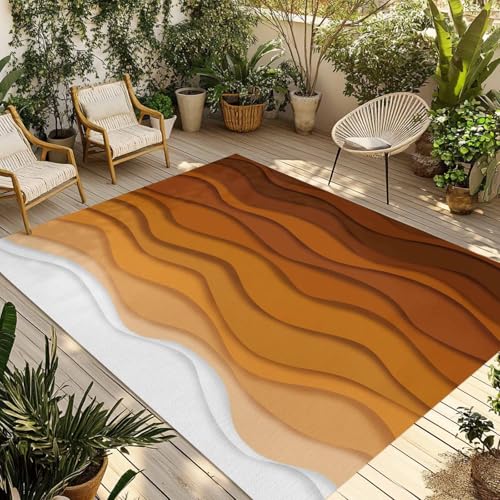
Outdoor Rug for Patio 3'x5',Ocean Waves Gradient Orange Non-Slip Area Rugs Washable Outside Carpet Indoor Rug,Abstract Watercolor Spray Non-Shedding Floor Mats for Porch Living Room Backyard Deck
Cozy Outdoor Comfort: This 3x5ft (36x60in, about 91x152cm) outdoor patio rug features a chenille top layer that delivers…
As an affiliate, we earn on qualifying purchases.
As an affiliate, we earn on qualifying purchases.
Preparing Your Workspace for Blocking and Stretching
Setting up your workspace properly guarantees a smooth blocking and stretching process. Start by designing a workspace that provides ample room for your rug to lie flat without obstacles. Clear the area of any clutter that could interfere with your work. When choosing proper lighting, opt for bright, even illumination to accurately assess your rug’s shape and size as you work. Good lighting helps you spot areas needing more stretching or reshaping. Make sure your surface is clean and flat to prevent any damage or uneven stretching. If possible, work in a space with good ventilation to help your rug dry efficiently. Incorporating diverse design options can also inspire creative approaches to your project. By carefully designing your workspace and selecting appropriate lighting, you’ll create an ideal environment for effective blocking and stretching. Additionally, understanding the sound vibrations involved in sound healing can inspire a calming atmosphere that promotes relaxation during your project. Creating a dedicated workspace can also help maintain consistency and focus throughout your rug blocking and stretching process. Incorporating proper skincare principles, such as maintaining a clean environment, ensures your workspace remains hygienic and conducive to your project.

Carpet Curl Stopper Rug Gripper for Corners & Edges – Heavy-Duty Anti-Curl Support, Ultra-Slim Rug-Side Adhesive, Prevents Lifting & Tripping, Floor-Safe, Indoor & Outdoor Use, Pack of 4
STOP CORNER CURLING INSTANTLY: Keep your rugs perfectly flat with our specialized rug gripper system. It prevents rug…
As an affiliate, we earn on qualifying purchases.
As an affiliate, we earn on qualifying purchases.
Identifying Areas That Need Reshaping

Start by looking for sections that appear twisted or uneven, which may need reshaping. Check the edges to see if they’re straight and aligned properly. Identifying these areas early helps guarantee your rug lays flat and looks even after stretching. For best results, ensure the rug is thoroughly cleaned before blocking to remove any debris that could interfere with reshaping, especially when using techniques similar to electric bike conversion kits that require precise adjustments. Additionally, inspecting the rug for any surface damage prior to stretching ensures a more secure and lasting reshaping process. Proper assessment of rug materials also plays a crucial role in determining the appropriate stretching techniques to avoid further damage. Understanding the fiber properties of your rug can help determine the most effective stretching methods and prevent fiber damage during reshaping. Recognizing the moisture content of the rug can help prevent stretching techniques from causing warping or fiber damage.
Spotting Distorted Sections
When rugs are not properly stretched after cleaning, they can develop distorted sections that stand out. To spot these areas, look for uneven patterns, puckering, or warping. These distortions often appear in sections where the rug fiber types react differently to moisture or cleaning agents. Be mindful of colorfastness considerations; excessive water can cause colors to bleed or fade, highlighting problematic spots. Use a flashlight to examine the rug’s surface closely, checking for areas that seem misaligned or stretched out. Additionally, understanding fiber reactions can help identify which sections are more prone to distortion after cleaning. Recognizing proper stretching techniques can prevent future distortions and maintain the rug’s original shape.
Recognizing Uneven Edges
Uneven edges are a clear sign that your rug needs reshaping after cleaning. If you notice frayed fringe or edges that curl or bunch, it indicates reshaping is necessary. Uneven edges can also affect the overall appearance, making the rug look distorted or poorly maintained. During inspection, check for areas where the edges don’t align smoothly with the rest of the rug. Addressing these issues may involve fringe repair or stretching to restore proper shape. Additionally, if the colors appear faded or uneven along the edges, you might need color restoration to match the rest of the rug. Recognizing these signs early helps ensure the rug maintains its original integrity and aesthetic appeal. Properly identifying uneven edges allows you to proceed with effective blocking and stretching techniques. Paying attention to quality assessment can also help prevent future issues with uneven edges.

Ftyiwu Waxed Thread, Upholstery Needle and Thread 32 Yards with 7PCS Hand Sewing Needles for Home Upholstery Carpet Canvas Repair Leather Sewing (Khaki)
Package Includes: This leather repair kit includes 1 pcs 32 yards sewing waxed thread and 7 pcs different…
As an affiliate, we earn on qualifying purchases.
As an affiliate, we earn on qualifying purchases.
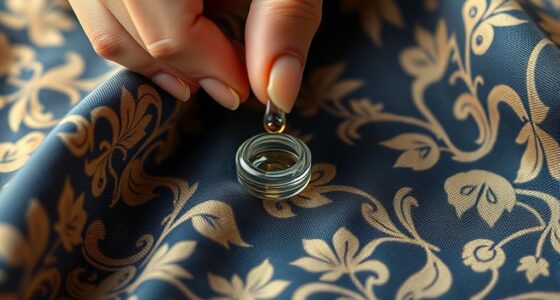
Gently Washing and Rinsing the Rug

When washing your rug, use a mild detergent to prevent damage and keep colors vibrant. Make sure to rinse thoroughly to remove all soap residue, but avoid using excess water that could cause stretching. Proper rinsing and gentle cleaning help preserve your rug’s shape and quality.
Use Mild Detergents
Using a mild detergent is essential for gently cleaning your rug without causing damage. Harsh chemicals can weaken fibers, reducing their resilience and risking color fading. A gentle detergent helps maintain dye stability, ensuring vibrant colors stay intact over time. When washing, choose a detergent formulated specifically for delicate fibers or rugs, avoiding strong surfactants. This preserves the rug’s natural texture and prevents deterioration. Properly diluted detergent ensures thorough cleaning without leaving residues that could attract dirt or cause discoloration. By using mild detergents, you protect the integrity of your rug’s fibers and colors, making sure it looks fresh and vibrant after cleaning. Remember, gentle cleaning preserves both the appearance and longevity of your rug, especially when combined with careful rinsing.
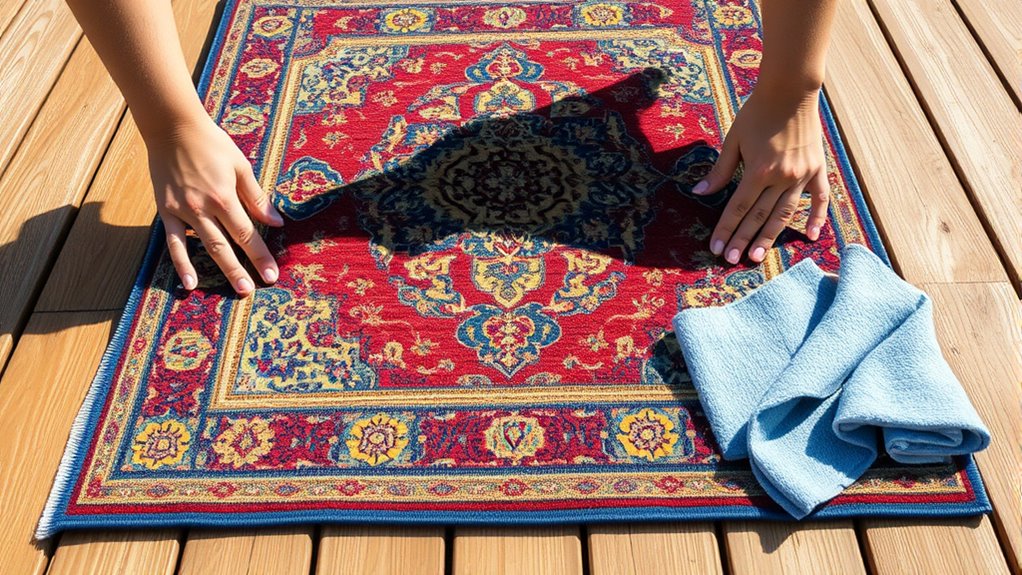
Rinse Thoroughly Well
After choosing a gentle detergent, it’s important to rinse your rug thoroughly to remove all soap residues. Proper rinsing ensures no detergent remains that could cause stiffness or damage over time. Use clean, cool water and gently wash the rug, working from the top to the bottom. Pay special attention to areas where soap may have pooled. This step is vital for effective cleaning and prepares your rug for the next stage. As you rinse, consider your drying techniques; avoid wringing or twisting the fibers, which can distort the shape. Instead, gently squeeze out excess water or roll the rug in a towel to absorb moisture. Complete thorough rinsing, and your rug will be clean, soft, and ready for proper drying.
Avoid Excess Water
To prevent damage and guarantee proper drying, it’s essential to avoid using excess water while washing and rinsing your rug. Excess water increases water absorption, making it harder for the rug to dry evenly and quickly. Too much water can also weaken rug fibers and cause color bleeding. Use a gentle washing method, applying minimal water, and focus on thorough rinsing with just enough moisture to remove dirt. Proper drying techniques, such as air drying in a well-ventilated area, help prevent mold and mildew. If you’re rinsing, do so carefully to avoid oversaturating the rug. Remember, controlling water intake during cleaning ensures the rug maintains its shape, fibers stay intact, and drying time reduces substantially, leading to a cleaner, healthier rug.
Removing Excess Water and Moisture
Removing excess water and moisture is essential to ensuring your rug dries thoroughly and prevents mold or mildew growth. Different fiber types absorb water differently, so tailor your approach accordingly. For example, natural fibers like wool hold more moisture, requiring careful extraction, while synthetic fibers dry faster. Use moisture barriers, such as plastic sheets, beneath the rug to prevent water from seeping into the subfloor and causing damage. After rinsing or wet cleaning, gently press or blot the rug to remove as much water as possible without damaging the fibers. Avoid wringing or twisting, which can distort the rug’s shape. Properly removing excess water helps speed up drying time and preserves the integrity of your rug’s fibers, ensuring a clean, fresh finish.
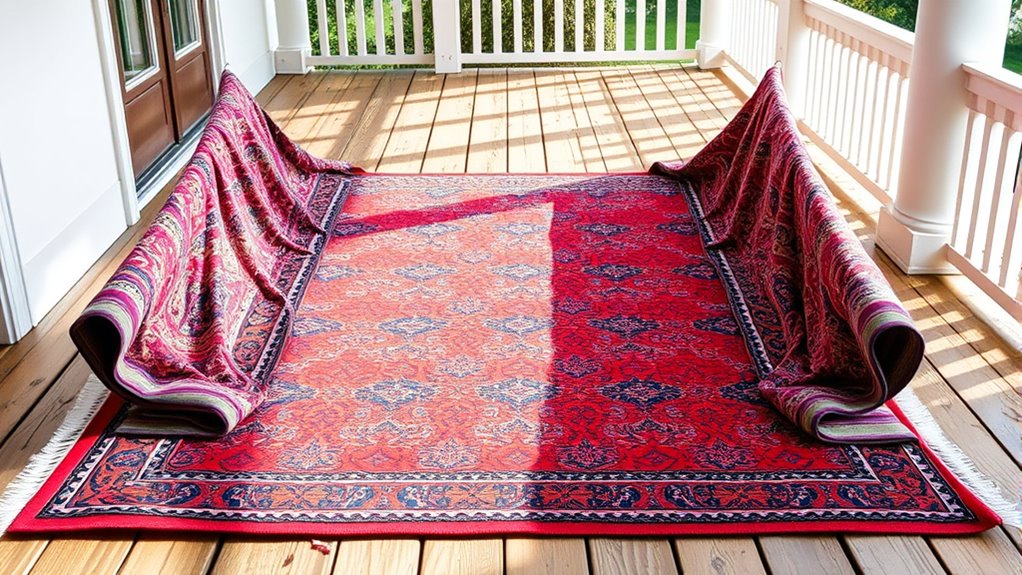
Laying Out the Rug for Blocking
Start by preparing a flat, clean surface that’s free of debris. Position your rug carefully, making sure it’s aligned and centered as desired. Then, secure the edges to keep the rug in place during the blocking process.
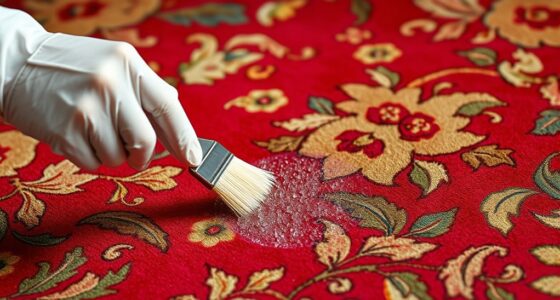
Preparing the Surface
Before you begin blocking and stretching your rug, it’s essential to prepare a clean, flat surface where you can lay it out safely. Start by cleaning the area thoroughly to prevent dirt and debris from transferring onto your rug. Check the rug’s colorfastness by performing a colorfastness test in a hidden area to prevent dye bleeding during the process. Additionally, confirm the rug fiber compatibility with your chosen stretching method and any products you plan to use. Use a smooth, non-slip mat or padding that won’t damage delicate fibers. This preparation guarantees the rug remains undamaged and allows for accurate stretching and shaping. Proper surface preparation creates a stable foundation, making the entire blocking process more effective and safer for your rug.
Positioning the Rug Correctly
Once your surface is prepared, carefully unroll or lay out the rug in the designated area, guaranteeing it’s positioned correctly from the start. Proper placement helps with accurate area measurement and color preservation. To do this effectively:
- Spread the rug flat, smoothing out wrinkles and folds.
- Align the edges with your measurements, making sure the rug sits evenly.
- Check the corners and sides to ensure they’re straight and square.
- Adjust as needed to prevent sagging or misalignment before starting the stretching process.
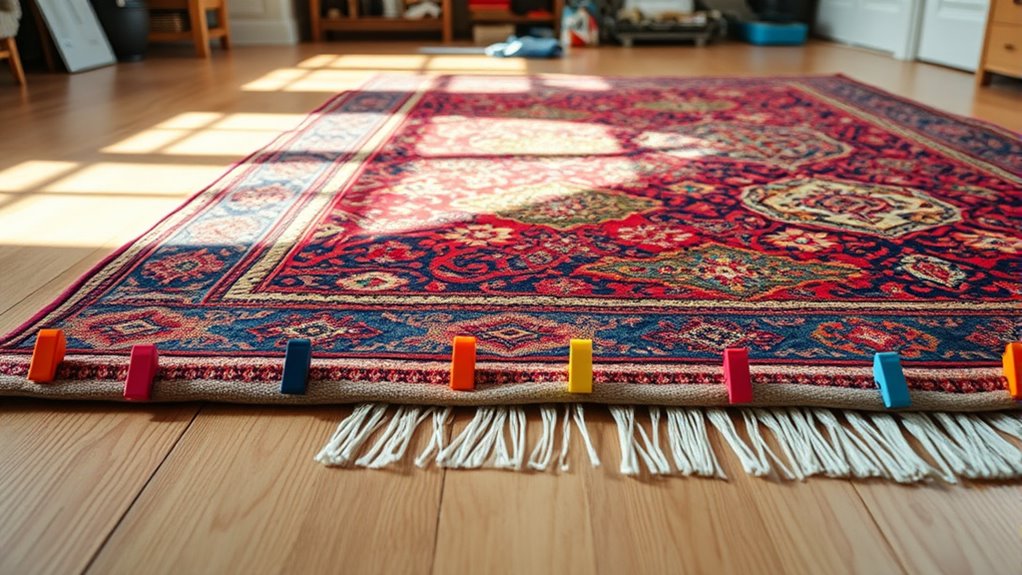
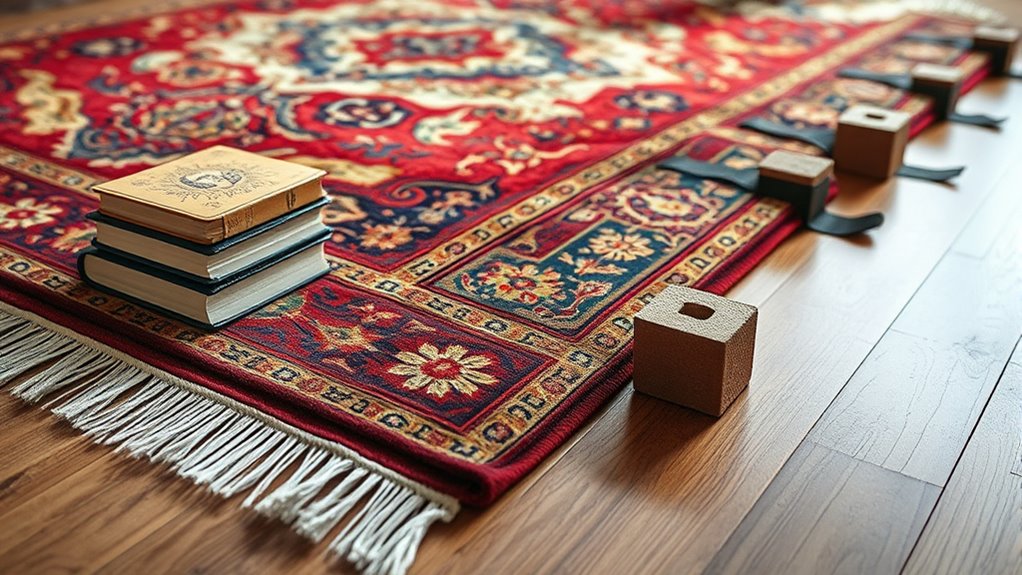
Securing the Edges
Laying out the rug for blocking requires securing its edges to prevent shifting during the process. Edge reinforcement is vital to maintain the rug’s shape as you stretch and straighten it. You can use adhesive techniques like applying double-sided tape or rug staples along the edges to hold them firmly in place. For added security, consider pinning the edges with rust-proof pins or weights to prevent movement. Make sure the edges are smooth and flat before securing, so the entire rug stays even. Properly reinforced edges allow you to stretch the rug accurately without worry of slipping or bunching. This step ensures your rug remains in the desired shape during drying and finishing, resulting in a professionally finished look.
Stretching and Aligning the Rug Edges
If your rug’s edges have become crooked or wrinkled after cleaning, you can restore their shape by stretching and aligning them properly. This process helps ensure the fringe repair looks seamless and the overall rug maintains its fresh appearance, including color restoration. To do this effectively:
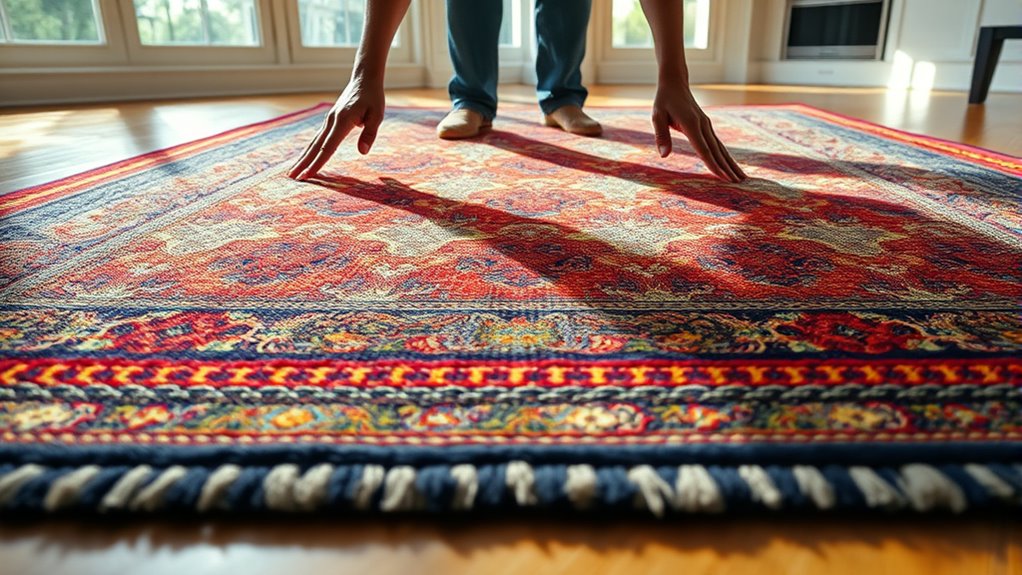
- Gently tug along the edges, working from the center outward to smooth wrinkles.
- Use pins or weights to hold the edges in place as you straighten them.
- Focus on aligning the fringe to keep it even and neat.
- Once the edges are aligned, recheck for wrinkles or uneven spots, adjusting as needed.
This method not only improves the rug’s shape but also helps maintain its visual appeal, making it look fresh, well-kept, and professionally finished.
Securing the Rug in Place to Maintain Shape
After you’ve stretched and aligned the rug edges, it’s important to secure them in place to preserve the shape you’ve worked so hard to achieve. Use knot tying techniques to fasten the edges securely, ensuring they don’t shift as the rug dries. Proper knot tying keeps the rug flat and maintains its original form. As you secure the edges, pay attention to the rug’s colors, since maintaining tension helps with color preservation by preventing uneven fading or distortion. You can use masking tape or specially designed rug pins to hold the edges temporarily, but knot tying offers a more durable solution. Taking these steps ensures your rug stays in perfect shape, with vibrant colors intact, until it’s ready for final drying or placement.
Allowing the Rug to Dry Completely
Once you’ve secured the rug in place, allowing it to dry completely is essential to prevent mold, mildew, or new staining. Different fiber types and rug materials require specific drying times and methods. To guarantee thorough drying, consider these steps:
Ensuring complete drying prevents mold, mildew, and staining for all rug types.
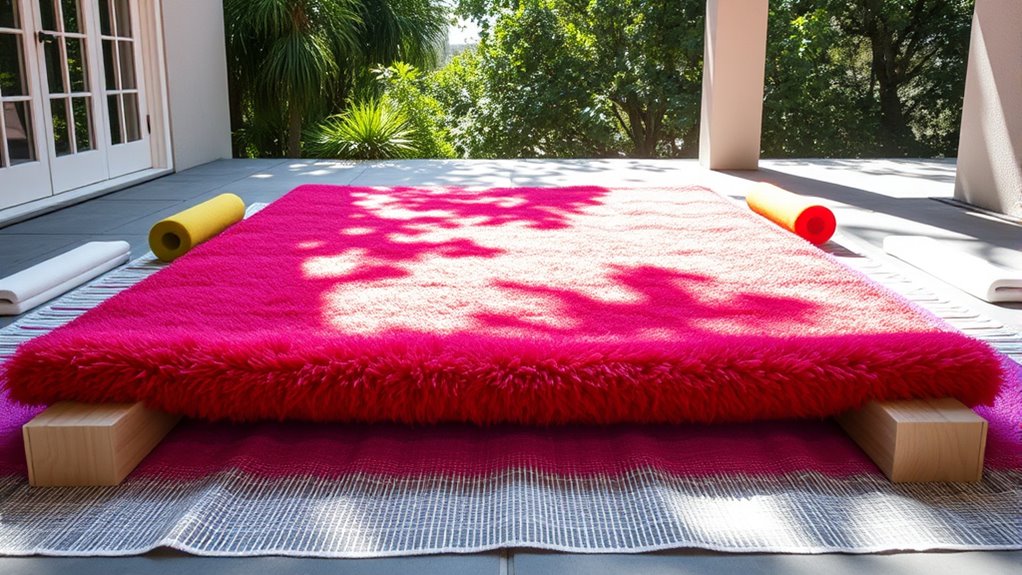
- Air Circulation: Use fans or open windows to promote airflow around the rug.
- Avoid Direct Sunlight: Some rug materials, like wool or silk, can fade or become damaged if exposed to direct sun.
- Check Fiber Types: Natural fibers may take longer to dry than synthetic ones, so be patient.
- Use a Moisture Meter: For delicate rug materials, this helps confirm that the rug is fully dry before moving on.
Proper drying preserves your rug’s shape and longevity, no matter its fiber type.
Final Checks and Maintenance Tips
With the rug thoroughly dry, it’s time to perform final checks to guarantee everything looks perfect and remains in good condition. Review the rug’s edges and surface for loose fibers or uneven spots, considering rug material considerations like wool, cotton, or synthetic fibers. Decide if further stretching is needed or if professional blocking might be better for delicate materials.
| Considerations | Your Next Step |
|---|---|
| Rug material sensitivity | Use gentle techniques or consult a pro |
| DIY vs. professional | Choose based on rug delicacy and complexity |
| Final appearance | Ensure shape and size meet expectations |
Taking these steps guarantees your rug stays beautiful and durable, whether you’re doing it yourself or seeking expert help.
Frequently Asked Questions
How Long Should I Wait Before Walking on a Newly Blocked or Stretched Rug?
You should wait until the rug is completely dry before walking on it. The drying time can vary, but generally, you should allow at least 24 to 48 hours, depending on humidity and thickness. This walk-on delay guarantees the rug stays stretched and properly set. Rushing too soon can cause wrinkles or misalignment. Always check for dryness before stepping on the rug to maintain the best results.
Can I Use Household Appliances to Speed up the Drying Process?
You might wonder if household appliances can speed up the drying speed. While using devices like fans or dehumidifiers can help, avoid using high heat from ovens or dryers, as these can damage your rug. Instead, set up fans or air movers to circulate air gently. This approach will safely and effectively reduce drying time without risking harm to your rug or prolonging its moisture.
What Are Common Mistakes to Avoid During Blocking and Stretching?
When blocking and stretching your rugs, avoid common mistakes like overstretching, which can distort their shape and damage fibers. Always follow the manufacturer’s guidelines to prevent unintended harm. Don’t ignore these instructions, as they’re designed to safeguard your rug’s integrity. Be gentle, use proper tools, and don’t rush the process. Taking your time ensures a smooth, well-stretched rug that maintains its appearance and longevity.
How Often Should I Repeat Blocking and Stretching for Maintaining Rug Shape?
Oh, because your rug loves a weekly spa day! In reality, you should only repeat blocking and stretching during seasonal maintenance, maybe twice a year. Overdoing it can harm rug longevity more than neglect. So, keep it simple: stretch only when necessary, like after major cleaning or shifts. This way, you preserve your rug’s shape without risking damage, ensuring it stays beautiful for years to come.
Are There Specific Rug Materials That Shouldn’t Be Stretched or Blocked?
Some rug materials, like delicate fibers and certain synthetic materials, shouldn’t be stretched or blocked aggressively. You need to be cautious because delicate fibers can easily get damaged or distorted, while synthetic materials might not respond well to stretching, which could cause permanent warping. Always check the manufacturer’s care instructions and test a small area first. Gentle handling preserves your rug’s integrity and keeps it looking its best.
Conclusion
Now that you know how to block and stretch your rugs, you’re well on your way to keeping them looking their best. With patience and a steady hand, you can restore shape and enhance their appearance effortlessly. Remember, a little effort goes a long way—don’t let your rug go to seed. With these tips, you’ll have a professionally finished look that truly stands the test of time.