
To safely spot-test cleaners, use the five-drop method on a hidden, small area of the surface. Place five drops of the cleaner and wait about a minute without spreading or rubbing. Check for any color change, discoloration, or damage before proceeding. Using this simple test reduces the risk of surface harm and guarantees the cleaner works effectively. Keep an eye on each step, and you’ll gain confidence in your testing approach. Learn more to master safe testing techniques.
Key Takeaways
- Use a small, hidden area and five drops of cleaner to test for reactions without damaging the surface.
- Allow the cleaner to sit for about one minute, observing for discoloration or damage before blotting gently.
- Ensure proper lighting and use clean, dry tools to accurately assess any changes during the test.
- Record results immediately and compare with the untreated area to detect subtle surface reactions.
- Always double-check materials on delicate surfaces and follow proper timing and drop count for safe testing.
Understanding the Importance of Spot Testing

Before using any cleaner on a surface, it’s vital to perform a spot test to avoid damage or discoloration. This step guarantees the cleaner won’t cause unintended harm, saving you time and money. Even if a product claims to be safe, surfaces can react unexpectedly. A small, inconspicuous area serves as your testing ground. Applying a tiny amount of cleaner and waiting for a few minutes helps you observe any adverse effects like staining, fading, or warping. Skipping this step risks ruining valuable furniture, delicate finishes, or decorative items. Spot testing isn’t just a precaution; it’s an essential part of responsible cleaning. Taking these few extra moments protects your surfaces, ensuring your cleaning efforts are effective without causing damage. Proper testing can also prevent damage caused by incorrect placement of air purifiers, which can reduce their effectiveness and potentially cause malfunctions.
Gathering Materials and Preparing Your Test Area
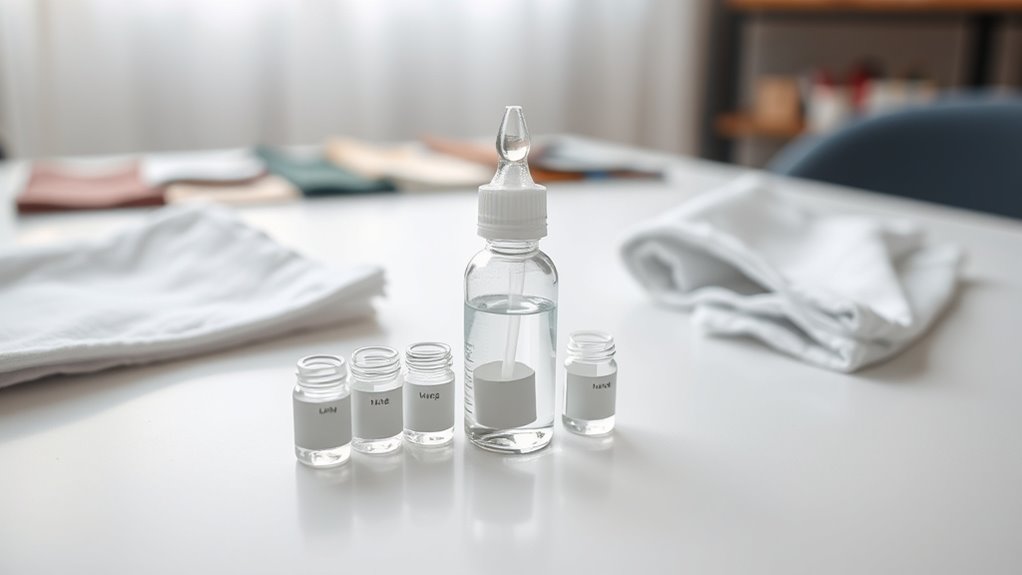
To guarantee a successful spot test, start by gathering all the necessary materials, including the cleaner you plan to use, a clean cloth or sponge, and protective gloves if needed. Make certain your test area is well-lit and free of clutter, so you can clearly see any changes. Choose a small, inconspicuous spot on the surface to test, avoiding visible areas. Prepare your workspace by laying down paper towels or a cloth to catch any drips or spills. If you’re testing on delicate surfaces, double-check that your chosen materials won’t cause damage. Being aware of relationship dynamics, such as how shared experiences can influence your decision-making during cleaning, can help you approach the testing process more confidently. Having everything ready beforehand helps you work efficiently and minimizes mistakes. Taking these simple steps ensures your test is safe and effective, giving you confidence before proceeding with the five-drop method.
Step-by-Step Guide to the Five-Drop Method
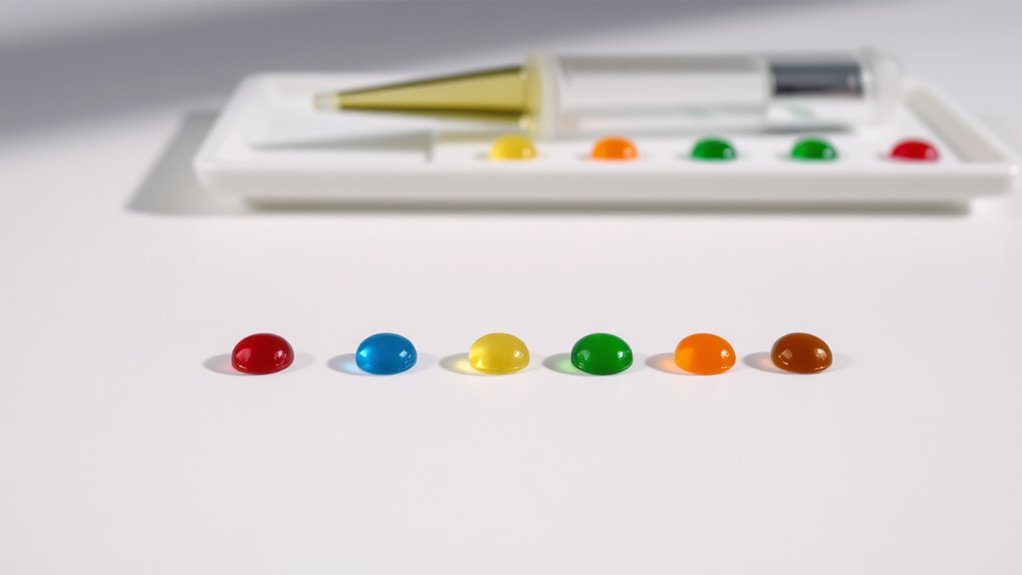
The five-drop method provides a simple way to test cleaners without causing damage to your surfaces. First, select a small, inconspicuous area to perform the test. Using a clean dropper or pipette, carefully place five drops of the cleaner onto the surface. Avoid spreading or rubbing the drops; simply let them sit. Wait for about one minute to allow the cleaner to interact with the surface. During this time, stay nearby to observe any immediate reactions. After the wait, gently blot the area with a clean, dry cloth or paper towel. Do not scrub or wipe aggressively. This process helps you see if the cleaner causes discoloration, damage, or adverse reactions before applying it more broadly. Understanding the properties of different cleaners can help you choose the most suitable products for your needs.
Interpreting Results and Ensuring Safety
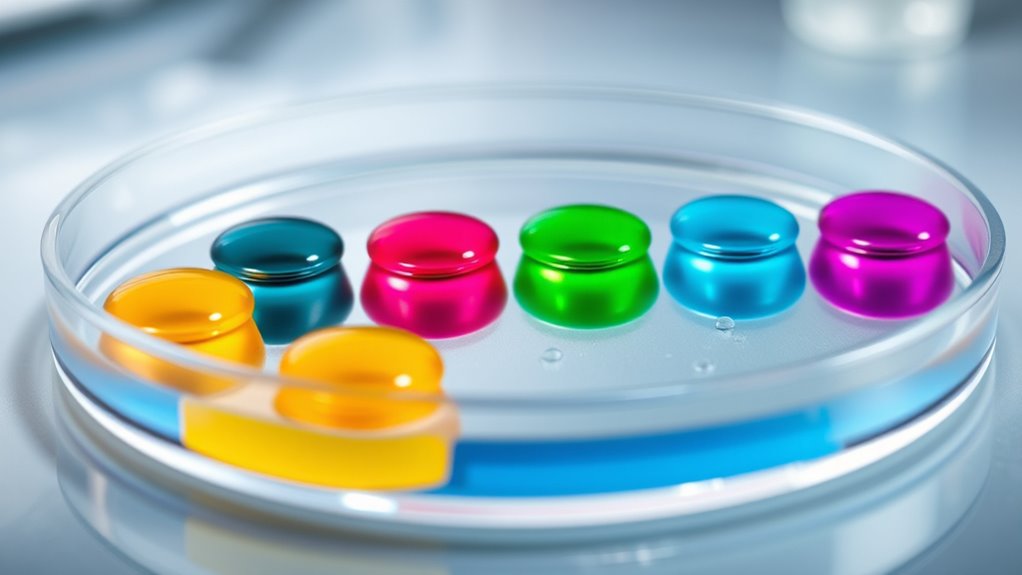
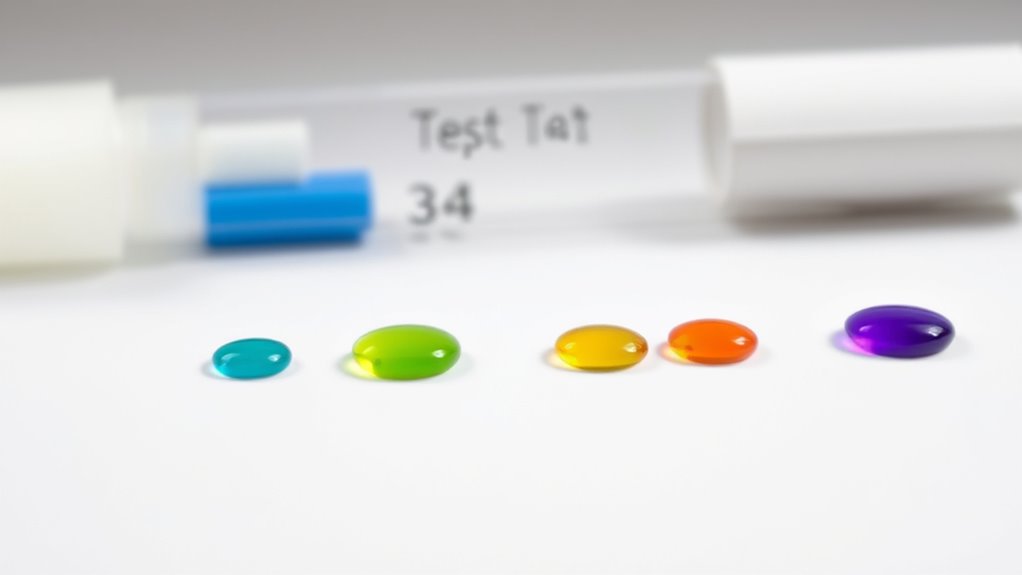
Interpreting the results of your spot test is essential to determine whether a cleaner is safe for your surface. Look closely at the test area after the recommended wait time. If the spot remains unchanged, it’s likely safe. A color change or any visible damage signals potential harm. Always compare the test area to a nearby untreated spot for context. Remember, even subtle changes matter. To ensure safety, keep these tips in mind:
Check your spot test for color changes or damage before cleaning to protect your surface.
- Check for color shifts or discoloration
- Look for surface damage like cracking or peeling
- Confirm the test was performed on a small, inconspicuous area
- Wait the full recommended time before evaluating
- Consider the surface type and material sensitivities
- Use expert voice actors to better understand product instructions and safety guidelines
Accurate interpretation prevents damage and helps you choose the safest cleaner.
Tips for Effective and Reliable Testing
Performing effective and reliable spot tests requires careful preparation and consistent methods. Start with clean, dry surfaces and use fresh test drops each time. Keep your testing area well-lit to see color changes clearly. Use precise drops—never guess—and record results immediately. To visualize, think of this table:
| Step | Focus |
|---|---|
| Clean Surface | Prevent contamination |
| Accurate Drop Count | Ensure test consistency |
| Proper Timing | Observe reactions at right moments |
| Consistent Environment | Avoid temperature or light interference |
| Record & Compare | Track results accurately |
Additionally, understanding the Chevrolet Tuning concepts can help in interpreting test results related to engine performance and adjustments.
Frequently Asked Questions
Can the Five-Drop Test Be Used on All Types of Surfaces?
You wonder if the five-drop test works on all surfaces. While it’s a handy method, it’s not appropriate for every material. Some surfaces, like delicate fabrics or porous materials, might get damaged or show misleading results. Always consider the surface type and follow manufacturer guidelines. Testing on a small, hidden area first is a smart move to make certain you don’t cause harm or get false readings.
How Often Should I Perform Spot Tests on My Cleaning Products?
Think of your cleaning routine like tending a garden—regular care keeps everything thriving. You should perform spot tests whenever you start using a new cleaning product or on unfamiliar surfaces. This helps catch any damage early, much like pruning a plant before it affects the whole. Typically, testing every few months or when switching products guarantees safety and preserves your surfaces, keeping your space fresh and protected.
What Should I Do if the Test Results Are Inconclusive?
If your test results are inconclusive, don’t assume the cleaner is safe or unsafe. Instead, try repeating the test with a fresh sample, ensuring proper application. You might also test on a different, less visible area first. If results remain unclear, consult the manufacturer’s guidelines or seek advice from a professional. Always prioritize safety, and avoid using the product on delicate surfaces until you’re confident it’s safe.
Are There Alternative Methods to the Five-Drop Test for Safety?
If you’re looking for alternative safety methods beyond the five-drop test, consider using test strips designed for specific chemicals or pH indicators, which provide quick, visual results. Always follow manufacturer instructions carefully. You can also perform small-scale patch tests on inconspicuous areas to observe reactions. Remember, when in doubt, consult safety data sheets or contact professionals to guarantee safe handling and use of cleaning products.
How Long Should I Wait Before Checking the Test Area After Applying the Cleaner?
You wonder how long to wait before checking the test area after applying the cleaner. Typically, you should wait about five minutes, which allows the cleaner to react and reveal any potential issues. During this time, avoid touching or disturbing the spot. This patience helps you accurately assess the cleaner’s effects, ensuring your surface’s safety before proceeding with the full application.
Conclusion
By using the five-drop spot-testing method, you can confidently identify safe cleaners and protect your surfaces. Did you know that improper testing can lead to damage or harmful reactions? Nearly 60% of household accidents involve cleaning products, highlighting the importance of safe testing. Take a few moments to follow these steps, and you’ll ensure a safer environment for everyone. Remember, a little caution goes a long way in keeping your home healthy and accident-free.