To repair your rug fringes at home, start by examining the damage, then gather supplies like a needle, matching thread, scissors, and glue. You can reattach loose fringes with fabric glue, sew frayed edges using small stitches, or create new fringes by looping yarn or twine through the rug edge. Trimming uneven ends keeps your rug looking neat. For longer-lasting fringes, follow simple preventative tips to avoid future damage. Keep exploring for detailed repair tips and techniques.
Key Takeaways
- Reattach loose fringes using fabric glue or by sewing them securely with matching thread.
- Reweave frayed edges with small stitches like backstitch or whipstitch for durability.
- Create new fringes by folding yarn and looping through the rug edge, then securing with a knot or sewing.
- Trim uneven or frayed fringes with sharp scissors, measuring carefully for an even, clean look.
- Protect repaired fringes with a sealant or fabric glue, allowing it to dry completely for long-lasting hold.
Assessing the Damage and Gathering Supplies

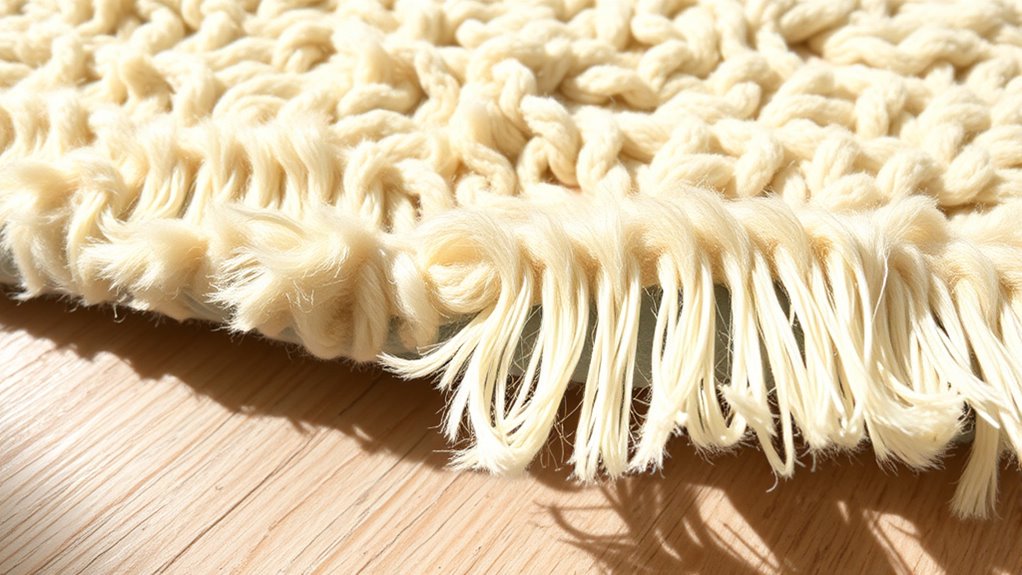
Before you begin repairing your rug fringe, it’s important to carefully assess the damage and gather all the necessary supplies. Start by examining the fringe closely to determine if strands are frayed, broken, or missing. Check for loose threads or unraveling sections that need reinforcement. Once you understand the extent of the damage, gather supplies like a sturdy needle, matching thread or yarn, scissors, and possibly a replacement fringe if needed. Having everything ready will make the repair process smoother. Verify your workspace is clean and well-lit to see small details clearly. Taking the time to accurately assess the damage and prepare your tools now will save you frustration later and help you achieve a neat, lasting repair. Additionally, understanding self watering plant pots can be useful if you want to keep your plants healthy while managing repairs around your home.
Cleaning Your Rug Before Repairs
Cleaning your rug thoroughly before starting repairs guarantees you can see all areas that need attention and prevents dirt from interfering with your work. Begin by gently vacuuming both sides to remove loose debris. Then, spot clean any stains with a mild detergent or solution suitable for your rug’s material. Use the following table to guide your cleaning process:
| Step | Method | Tools Needed |
|---|---|---|
| Vacuuming | Use a vacuum with brush attachment | Vacuum cleaner |
| Spot Cleaning | Apply gentle cleaner to stains | Soft cloth or sponge |
| Deep Cleaning | Wash with mild soap and water | Bucket, soft brush |
| Drying | Air dry in a well-ventilated area | Fan or open window |
| Inspection | Check for remaining dirt or damage | Light source |
Proper cleaning guarantees your rug is ready for effective repairs and long-lasting results. This preparation process ensures the best outcome for your repair work.
Reattaching Loose Fringes With Fabric Glue
To reattach loose fringes, you need the right fabric glue that functions on your rug material. Once you pick the suitable adhesive, apply a small amount carefully to avoid mess, then press and hold the fringe in place. Securing it properly ensures your repair lasts and looks neat. Incorporating sustainable repair methods can help maintain the longevity of your rug and reduce waste.
Selecting the Right Fabric Glue
Choosing the right fabric glue is essential for ensuring your rug fringe stays securely attached. You want a glue that provides a strong bond, dries clear, and remains flexible. Look for products labeled for fabric or upholstery use, as they’re designed for durability and flexibility. Avoid super glues or adhesives not intended for textiles, which can be brittle or stain your rug. Consider the drying time; quicker options save time but still need enough setting time to bond properly. Additionally, selecting a suitable adhesive that aligns with your project needs can make a significant difference in the longevity of the repair.
Applying and Securing Fringe
When reattaching loose fringe on your rug, applying fabric glue carefully is key to achieving a secure hold. Start by laying the rug flat and gently aligning the fringe to its original position. Use a small brush or applicator to apply a thin layer of glue to the underside of the loose fringe. Be precise to avoid excess glue seeping onto the rug fibers. Press the fringe firmly into place and hold for about 30 seconds to ensure good adhesion. For added security, place a heavy book or flat object on top while the glue dries. Allow the glue to cure fully, usually 24 hours, before using the rug. This method keeps your fringe secure and your rug looking neat. Additionally, understanding rug materials can help you choose the most suitable adhesive for your specific rug type.
Reweaving Frayed Edges Using a Needle and Thread

To reweave frayed edges effectively, you need to choose the right thread that matches your rug’s material and color. Using a precise reweaving technique guarantees your repairs blend seamlessly and stay durable. Pay close attention to your stitching to maintain the rug’s original look and strength.
Selecting Suitable Thread
Selecting the right thread is essential for a seamless repair that blends with your rug’s fringe. You want a thread that matches the color, thickness, and texture of your existing fringe. If you can, bring a small sample of the fringe to a craft store to find the closest match. Opt for a strong, durable thread like polyester or nylon, which can withstand foot traffic and washing. If your fringe is made of natural fibers, choose a similar material, such as cotton or wool thread. Avoid shiny or overly thick threads that stand out or don’t blend well. The goal is to make your repair as invisible as possible, so take your time selecting a thread that closely matches your fringe’s characteristics. Additionally, understanding the ear wax odor can help identify if your rug fringe has accumulated dust or debris that may contribute to odors or damage over time.
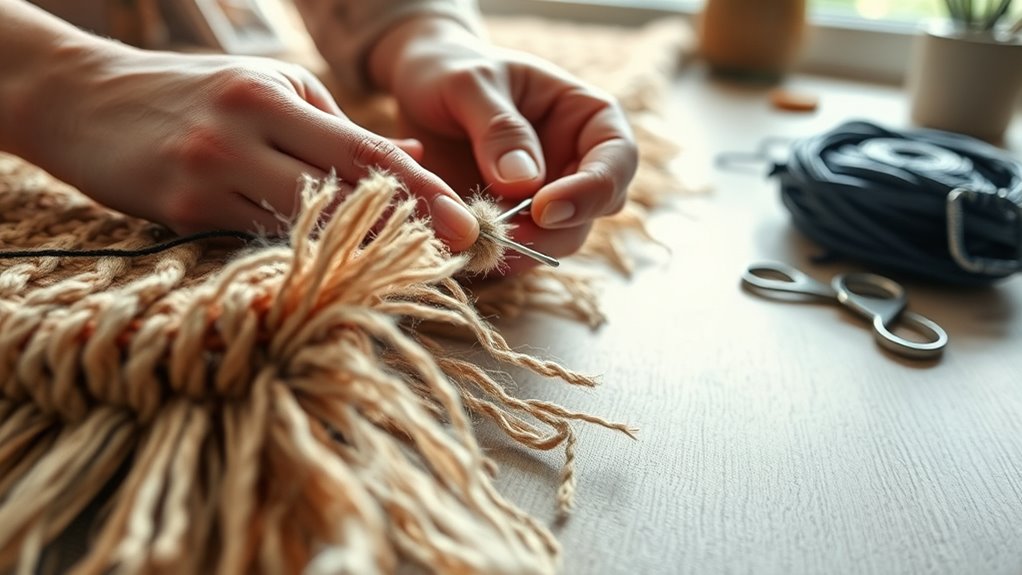
Precise Reweaving Technique
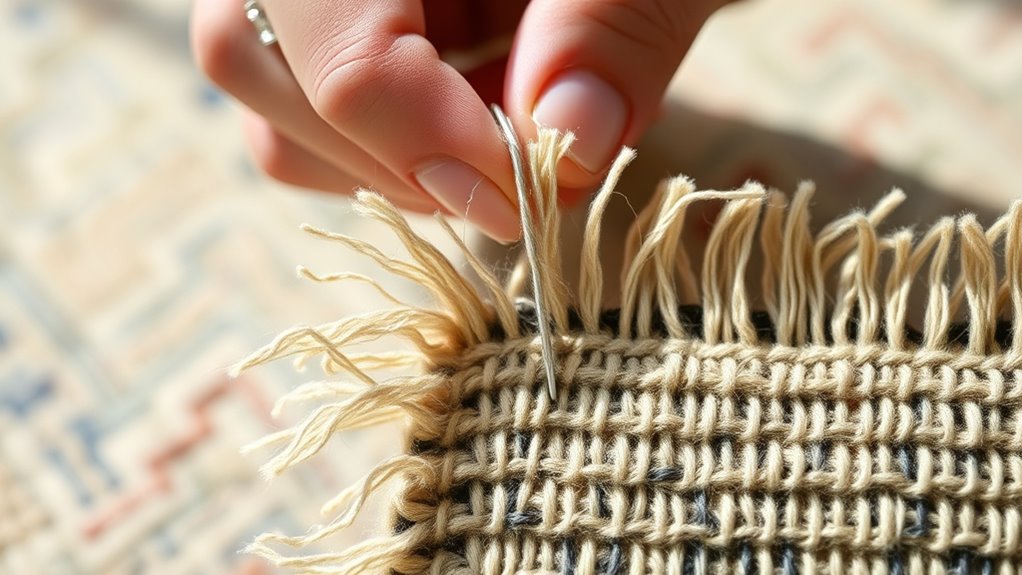
Begin by threading your needle with a length of matching thread, ensuring it’s long enough to work comfortably without tangling. To reweave frayed edges precisely, focus on small, controlled stitches that mimic the original weave. Start at the edge of the fray, inserting the needle just below the damaged area. Use a backstitch or whipstitch to secure loose fibers and fill in gaps. Keep tension even for a seamless look. For added strength, alternate directions with each stitch. Here’s a quick guide:
| Step | Action |
|---|---|
| Thread selection | Choose matching, sturdy thread |
| Stitch technique | Use small, tight stitches to mimic original weave |
| Finishing | Secure thread with a few extra stitches and trim |
Additionally, practicing preppy dog names can inspire you to choose a stylish and sophisticated name for your pet after completing your rug repair. With patience, your rug will look almost new.
Creating New Fringes With Yarn or Twine

Ever wondered how to give your rug a fresh, personalized look? Creating new fringes with yarn or twine is an easy, budget-friendly way to refresh your rug. Start by cutting lengths of yarn or twine to your desired fringe length. Then, fold each piece in half and loop the fold through the existing rug edge, pulling the loose ends through the loop to secure. As you work, imagine:
Create custom fringes with yarn or twine for a quick, stylish rug refresh.
- Bright, colorful yarn adding vibrancy
- Twine giving a rustic, natural feel
- Evenly spaced fringes creating a balanced look
- A mix of textures for visual interest
- Custom lengths for a unique style
With a little patience, you’ll transform your rug into a stylish, personalized piece that reflects your taste. This simple technique is perfect for DIYers seeking a quick upgrade. Using different materials like wood or metal hooks can also enhance your wall organization and overall decor.
Securing Fringes With Fray Check or Fabric Sealant
To keep your fringes secure, applying Fray Check or fabric sealant correctly is essential. You want to make sure it covers the ends evenly without excess, so it adheres well. This way, your fringes stay neat and hold up over time. For added durability, consider using a sealing technique to prevent fraying and maintain a clean appearance.
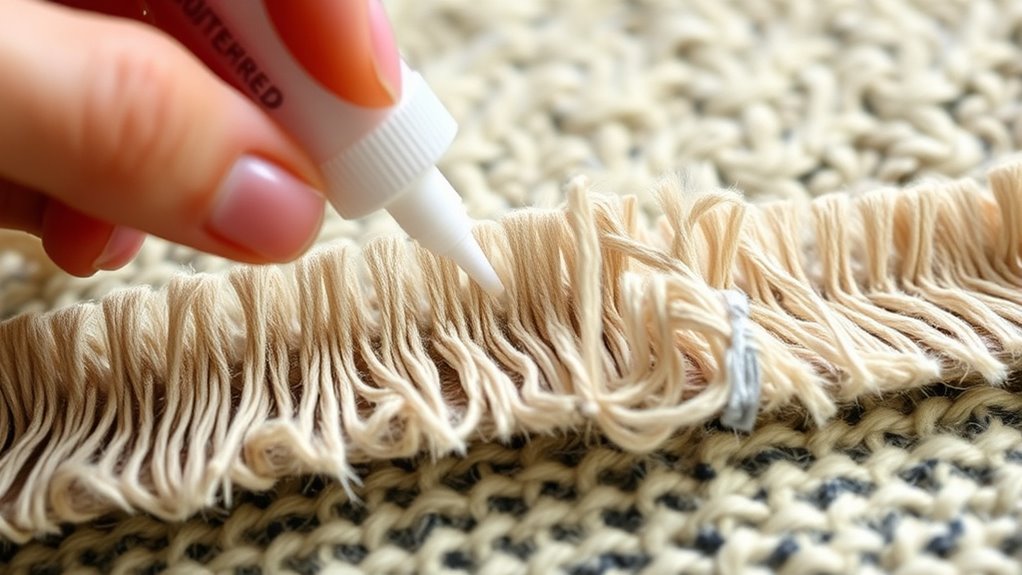
Applying Sealant Effectively
Applying sealant effectively is key to securing your rug fringes and preventing further fraying. To do this, start by ensuring the fringes are clean and dry. Use a fine-tip applicator or brush to apply the sealant precisely along the frayed edges, avoiding excess buildup. Work slowly to cover all damaged fibers thoroughly without oversaturating the area. Keep the rug steady and hold the fringes in place while the sealant dries. For best results, apply a second coat if needed after the first has dried completely. Remember, patience is essential—rushing can lead to uneven application or mess. Properly sealing the fringes contributes to their quaint charm and overall aesthetic appeal.
- Clean and dry fringes before applying
- Use a fine-tip applicator or brush
- Apply slowly and precisely
- Hold fringes steady during drying
- Avoid over-saturating the fibers
Ensuring Long-lasting Hold
After applying sealant, the next step is to guarantee the fringes stay securely in place over time. To do this, give the sealant some time to dry completely, usually 24 hours, before handling the rug. Once dry, gently press the fringes down to ensure the sealant has fully bonded. Avoid tugging or pulling on the fringes immediately afterward, as this can weaken the hold. You can also reinforce the area by using a small amount of fabric glue or sewing a few stitches for extra security. Regularly inspect the fringes to catch any signs of loosening early. Proper care and patience will help your repair last longer, keeping your rug looking neat and well-maintained for years to come.
Trimming Uneven or Frayed Ends for a Clean Look

When your rug fringe becomes uneven or frayed, trimming is the simplest way to restore its neat appearance. First, gather sharp scissors and a steady hand. Carefully measure and mark the desired length, ensuring an even cut across all strands. Trim slowly, trimming just a little at a time to avoid cutting too much. For a polished look, follow these tips:
- Use a ruler or tape measure for accuracy
- Cut straight across for uniformity
- Hold the fringe taut to prevent uneven cuts
- Trim in small sections for control
- Remove loose fibers or frayed threads before trimming
This quick fix refreshes your rug’s look, making it appear tidy and well-maintained without extensive effort.
Repairing Torn or Severed Fringe Sections

If your rug fringe has torn or been severed, quick action can restore its appearance and prevent further damage. Start by gathering a needle and matching thread or yarn. Carefully align the torn edges, making sure the fringe strands are straight. Sew the tear using small, tight stitches, working from the inside of the fringe to hide your thread. If the severed section is short, you can reattach it by sewing it back onto the rug’s edge or existing fringe. For larger damage, consider attaching a new fringe section using a strong adhesive or by sewing it on securely. Always double-check that your stitches are tight and neat to ensure durability. With patience, you can seamlessly repair your rug’s fringe at home.
Preventative Tips to Maintain Fringes Longer

To keep your rug fringes looking their best for longer, regular care and mindful handling are essential. You can prevent damage by following simple tips to preserve their appearance. For example, avoid pulling or tugging on the fringes, which can cause fraying or tears. Use a gentle brush or comb to remove dirt and dust, preventing buildup that weakens fibers. When moving furniture, lift rather than drag to avoid snagging. Keep your rug out of direct sunlight to prevent fading and fiber weakening. Additionally, rotate your rug periodically to ensure even wear. Ultimately, avoid vacuuming fringes directly to prevent pulling or loosening. These small steps help maintain the integrity and beauty of your fringes, saving you time and effort down the line.
Regular Maintenance and Care for Your Fringed Rug
Maintaining the appearance of your rug fringes requires consistent, gentle care. Regularly vacuum your rug without the beater bar to prevent pulling or damaging the fringes. When you spot dirt or debris, use a soft brush or cloth to gently clean the fringes instead of harsh scrubbing. Avoid exposing your rug to excessive sunlight, which can cause fading and weaken the fibers. If fringes become tangled, carefully untangle them with your fingers or a wide-tooth comb. Periodically check for loose or frayed fringes and secure or trim them as needed to prevent further damage. Store your rug in a cool, dry place when not in use, and rotate it occasionally to ensure even wear. Consistent, careful maintenance keeps your fringes looking fresh and intact over time.
Frequently Asked Questions
Can I Repair Rug Fringes Without Professional Tools?
You can definitely repair rug fringes without professional tools. Start by gathering some basic supplies like needle and thread or strong glue. Carefully trim any frayed edges, then sew or glue loose fringes back into place. If fringes are severely damaged, you might consider reattaching new fringe strips. With patience and a steady hand, these simple techniques allow you to restore your rug’s look at home easily.
How Often Should I Check My Fringes for Damage?
Think of your rug fringes like the heartbeat of your decor; they need regular check-ups. You should inspect your fringes every few weeks, especially if your rug sees heavy foot traffic or is near pets. Look for loose threads, fraying, or tears. Catching damage early is like catching a small leak before it floods—saves you time, effort, and money in the long run.
Are There Specific Cleaning Products to Avoid on Fringed Rugs?
When cleaning your fringed rug, you should avoid harsh chemicals like bleach, ammonia, or strong detergents that can damage the fibers. Stick to gentle, pH-balanced cleaners or use a mild soap diluted in water. Always test a small hidden area first to check for any discoloration. Regularly vacuum and spot clean with a soft cloth to keep your fringes looking fresh without risking damage from aggressive products.
How Do I Prevent Fringe Damage During Heavy Foot Traffic?
Hold onto your bonnet, because heavy foot traffic can wear down your rug’s fringe quickly. To prevent damage, regularly shake out the fringe to remove debris and avoid dragging shoes or heavy furniture across it. Place rugs in low-traffic areas or use a protective pad underneath. Keep pets’ claws trimmed, and encourage family and visitors to be mindful of the fringe. These simple steps keep your rug looking fresh and damage-free.
Is It Better to Replace or Repair Severely Damaged Fringes?
When your fringes are severely damaged, you might wonder if replacing or repairing is better. Generally, repairing is a good option if the damage is localized and manageable, saving you time and money. However, if the fringes are extensively torn or frayed beyond simple fixes, replacing them could give your rug a fresh look. Consider your budget and the extent of damage to decide the best approach.
Conclusion
Think of your rug’s fringe like a delicate necklace—once damaged, it’s tempting to give up. But with simple at-home techniques, you can restore its beauty and extend its life. Just like tending to a garden, regular care keeps your fringes vibrant and strong. With patience and the right tools, you’ll keep your rug looking fresh and inviting, ensuring it remains a cherished part of your home for years to come.